Once upon a time, the term “ultralight” didn’t enjoy the wide circulation that it does in the hiking world today and any article entitled “The Best Ultralight Backpacking Gear List Ideas” would most likely have been met with equal measures of scorn and derision.
Gear choices back in the day were fairly limited and often consisted of opting for the lesser of two or three ponderous, cumbersome, back-breaking evils.
Times, however, has thankfully changed, and these days the huge leather boots, thick woolly sweaters, lumberjack shirts, Mackintosh jackets, wax-laden tents, and 5-pound stoves of yore have given way to a wide selection of incredible user and back-friendly garments and gear items that barely weigh your pack down enough to improve a few sets of bicep curls. We modern-day hikers, fortunately, will never know how our trail-going forebears suffered…
But choosing the best ultralight kit for your backpacking adventures isn’t as simple as just checking the “trail weight” in the product specs and plumping for the best-looking and lightest item you can get your hands on.
Standing between you and the ultimate ultralight backpacking kit lies something of a gauntlet of potential pitfalls into which the unwary and unsavvy hiker may take a tumble.
To help you navigate that gauntlet and dodge those pitfalls, this article will bring you a wealth of tips and insights into the best ultralight backpacking gear out there, starting off with a handful of more general weight-saving observations before then embarking on a detailed list of items that might just shave a few excess pounds off of your overall pack weight.
Table of Contents
Why Go Ultralight? Five Reasons Why Less is More
1. Strains and Stresses
Carrying upwards of 25 pounds can put a lot of strain on certain parts of your anatomy, most notably your back, knees, quads, abs, trapezii, and shoulders (when lifting and slinging the pack onto your back).
If you’re out on the trails for days or even weeks at a time, this can result in you picking up a trip-ending injury or, at the very least, falling foul of the effects of fatigue (which, we might add, is one of the prime causes of injury and accidents anywhere).
2. Speed
While we’d never advocate rushing on any hike and thereby missing out on the scenery and experience of your surroundings, should bad weather strike or you are working on a tight schedule, carrying a lighter pack is more likely to allow you to get to safety or your other commitments in good time.
According to Mountain Tactical Institute, carrying one percent of your body weight makes you 6 seconds slower per mile. If you weigh 150 pounds, therefore, reducing your pack weight from 40 to 30 pounds will save you 40 seconds per mile, which equates to roughly 2 minutes per hour using Naismith’s Rule.
3. Energy Levels
While backpacking, far more things require your attention and energies than the mere portation of your gear and supplies from A to B.
By traveling light, you’ll not only save some juice for other important factors like navigation and trail-finding, setting up camp, helping any others who require assistance, unexpected diversions but also that most imperative of must-dos for any outing in the backcountry — enjoying yourself.
4. Experience
Schlepping excess weight over any landscape, no matter how captivating, is sure to taint your memory of the experience and lessen your desire to repeat it in a hurry.
5. Enjoyment
While there may be a sense of achievement in completing the X Trail with a pack that would make even Sisyphus balk, Sisyphus, we’d imagine, didn’t have to swell a time on his undertakings and it’s highly unlikely that you will either if your sole focus is on the excess poundage on your back.
A Word of Caution…
While the trend toward ever more lightweight products is undoubtedly a good thing in terms of increasing our enjoyment of our backpacking trips, it’s worth noting that any lightweight gear item is only an improvement on a heavier one so long as it fulfills the purpose that the original, heavier item fulfilled to an adequate degree.
Put another way, your new, sparkling, featherweight kit might feel like a big improvement when you first don your lighter pack, but if certain items of that kit are not fit task then you’ll soon regret having parted ways with their weightier predecessors.
Additionally, while it’s tempting to cast aside some items in order to cut down on weight when anticipating good weather or setting off on a particularly long adventure, don’t do so if it entails putting your well-being at risk, particularly if any of those items fall into any category in the “Ten Essentials” listed below. It’s better to be safe than sorry, as they say, and if that means carrying an extra pound of gear then you might just have to bite the bullet.
The Ten Essentials (and How to Shave a Few Ounces Off of Their Pack Weight)
The original list of essentials for backpacking and hiking first appeared in the 1974 edition Freedom of the Hills but its source can be traced back to an outdoor community group in the 1930s Pacific Northwest dubbed “The Mountaineers”.
Their aim was to create a checklist of ten essentials items of gear and supplies that would allow hikers and mountaineers to spend nights out in the wild safely and also respond effectively to accidents and emergencies. Though the list has evolved with time, the gist of the original remains in the list we know and use today:
1. Navigation
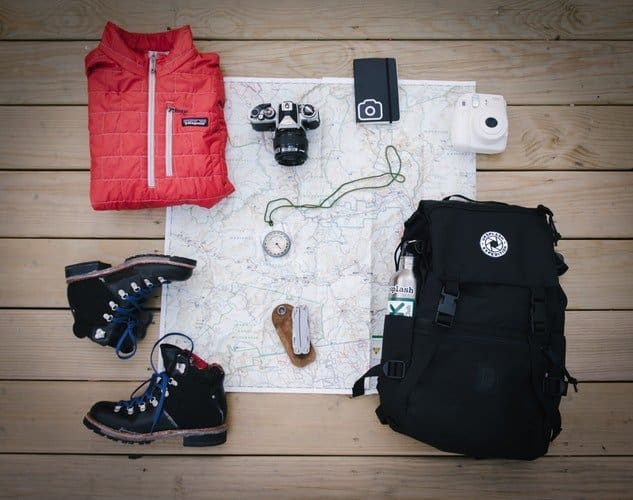
The first items to go into your pack for any hiking trip that is more challenging than a short saunter in the local park or woods should be a map and compass. Likewise, the first skill every hiker should learn is how to use the two effectively and efficiently.
Doing so might not only save you getting lost, benighted, or turning a two-hour hike into a ten-hour epic after a wrong turn, but also from carrying heavy navigational gadgets like GPS devices and enough batteries for the duration of your trek (which could weigh upwards of a pound if you’re on the trail for more than a few days).
2. Shelter
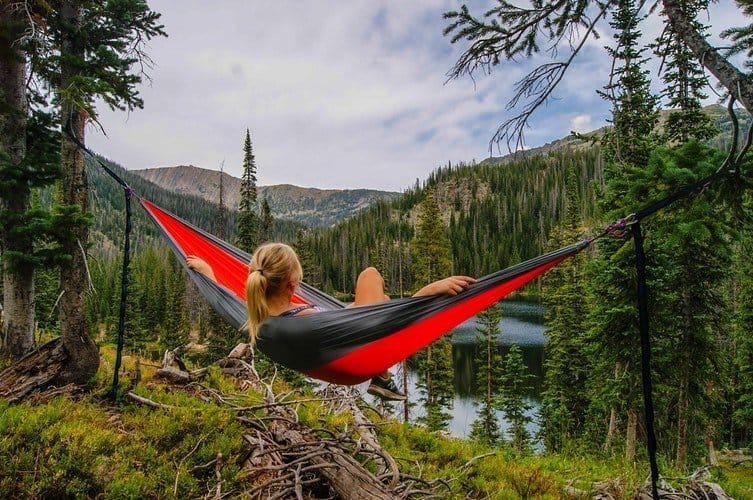
One way of seriously decreasing your pack weight is to skip the standard procedure of carrying a tent in favor of sleeping under a tarp, in a hammock, or even al fresco.
While each of these options will certainly save you a pound or two, just in case the weather forecasters get it wrong (it’s been known!), we’d highly recommend carrying either an emergency shelter or lightweight bivvy bag to give you full protection from any unforeseen, meteorological misbehavior.
If you prefer spending your nights inside a regular tent, we recommend opting for the basic ridge tent variety and saving on weight by using your trekking poles to support the tent material instead of regular tent poles.
3. Insulation
This is one item of the ten essentials you really don’t want to be cutting corners with. Even in summer months, hypothermia can strike ill-prepared hikers and even lesser cold-related ailments can make your trip far more miserable than memorable.
That said, the classic three-item layering system needn’t be viewed as a “necessary evil” and can be tweaked so as to save a few grams here and there.
The most common mistake we’ve seen with regard to insulation is carrying too many extra items. While on backpacking trips, it’s always better to bring spare socks and underwear, but unless you’re inordinately hygiene conscious there’s really no need to be carrying extra base layers, shells, or insulating layers — the only new acquaintances you’re likely to meet out there, after all, will either be other backpackers or wild animals, neither of which are famed for their daisy-like freshness.
4. Illumination
Pfaffing about in the dark at any time isn’t a great deal of fun, less so when you happen to be in the vicinity of cliffs, large rocks, large bears, and other such potential poopers to your backpacking party. Having some source of reliable illumination, therefore, is highly advisable.
Lantern mantles and high-powered flashlights will both do the job around your campsite, to be sure, but neither is very practical while out on the trail and will add a pound or so of weight to your pack to boot.
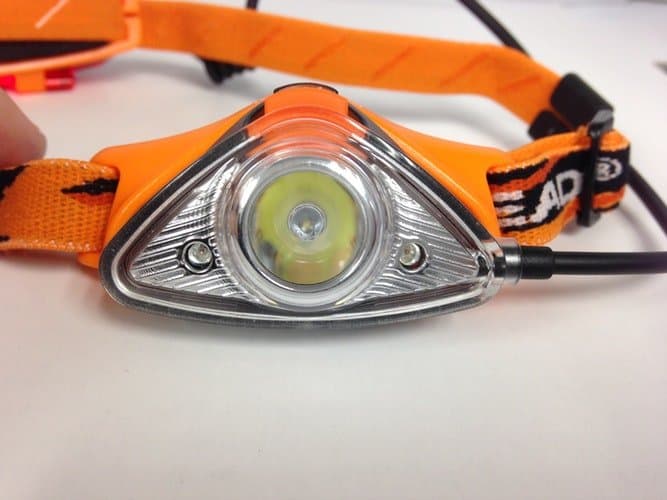
Your best bet is to keep things simple, opting for a lightweight with decent lumens output (over 50) and long battery life (in excess of 4 hours on full beam).
5. First-aid supplies
Buying a pre-made kit is the easiest way to go about assembling your first aid supplies for a backpacking trip, but starting from scratch on your own is usually a cheaper and simple means of shaving off a few unnecessary grams. Only carry items that you know how to use — for example, carrying a needle and thread is fairly pointless if you don’t know how to suture a wound and a scalpel, in most hands, is more likely to cause more problems than it might solve.
6. Fire
There are many ways to go about starting a fire, but in the backcountry, the lightest and most effective way remains the old-school, tried-and-tested use of good old matches.
While many lament their ineffectiveness when wet, waterproof varieties are widely available or you could just stash the regular kind in a safe, watertight container and carry a small lighter just in case.
To help things along, soak some cotton balls in vaseline to create instantly flammable tinder — it’s much more practical and efficient than carrying your own supply of wooden tinder or the throwback flint and striker which has enjoyed a largely unmerited renaissance in recent years.
7. Nutrition
Finding a balance between carrying enough grub to stave off starvation and not weighing yourself down with victuals destined to be found at the bottom of your pack some weeks hence is the key to calculating the ideal amount of food to take on your trek.
Before packing try to calculate how many calories you eat per day. After adding 30%* to account for the extra calories burned while hiking, you should have a better idea of just how much food you’ll have to pack between resupply points.
Allow yourself a buffer of one day’s supply more than the duration of your trek and stock up on calorie-dense items such as peanut butter, nuts, dried fruit, jerky, and meal bars.
Choosing to go down the uncooked path is another great gram-saving solution, meaning you can leave your stove and cooking equipment at home and thereby save somewhere from two to five pounds, depending on your trip’s duration and how much gas you’d planned on carrying to keep your stove running all that time.
*This can vary depending on how long you’re on the move each day and the altitude at which you’re hiking.
8. Hydration
Water is always one of the biggest offenders when it comes to increasing pack weight, particularly if you’re hiking in hot climates where only a few minutes on the trail is enough to have you gasping for liquids. Good old H20, however, is nonetheless the most important component of any backpacking gear/supply list.
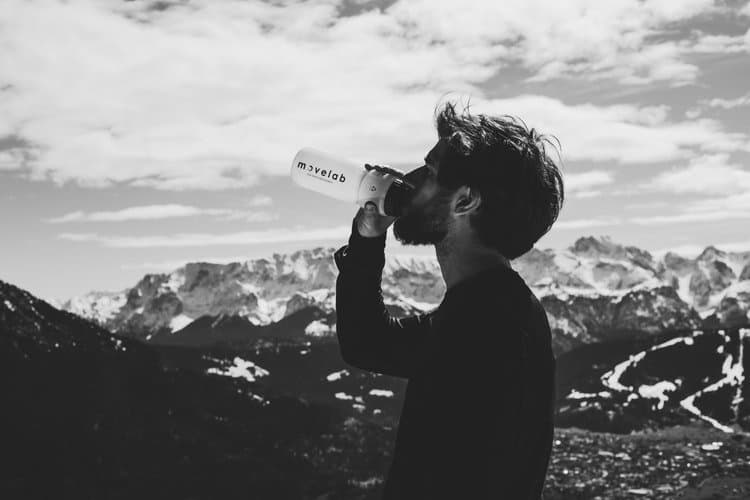
Two of the main mistakes we see made by hikers are a) carrying way too much water b) carrying any water at all. Although the amount of water you need will depend on your body size, where you’re hiking, and the season or temperatures you’re hiking in, as a general rule we’d suggest you’ll need one liter for every hour of trial time.
For an eight-hour hike, that means a lot of water, and a lot of water, alas, means a lot of weight. If there are reliable water sources available along your intended route, you can get around this problem by carrying a filter or purifier such as the SteriPEN Adventurer Opti (which kills over 99.9% of all bacteria, viruses, or protozoa in 90 seconds), the Grayl Ultralight Purifier Bottle, or Aquatabs water purification tablets. Using any of these systems, you can ditch your reserves of H20 and simply refill your empty bottle when passing a stream, creek, or river.
Further read, The Very Best Hydration Packs for Hiking
9. Toolkit
A basic toolkit is handy for repairing crucial gear items, preparing food, and administering first aid. However, some hikers are apt to overdo it and hit the trails with a collection of implements comparable to that of your average carpenter.
The simple solution is to pick up a lightweight, reliable multi-tool that has the bare essentials of a knife, scissors, and pair of tweezers. Any more will be overkill in 99% of cases.
10. Sun protection
It may be last on our list, but protecting yourself from the sun’s UV rays when out hiking shouldn’t be considered any less imperative than the other essentials.
When temps are high, wearing light, long-sleeved shirts, full-length pants, and a sun hat could save you not only a bottle or two of suncream but also an unplanned visit to the hospital. Just in case your threads leave some exposed patches of skin or you lose your sunhat, for example, always carry a small tube of high UV factor suncream to be on the safe side, even in winter.
The Best Ultralight Backpacking Gear List
The following list advises on the assumption that you will be doing your hiking in summer, spring, or fall. Owing to the conditions you can expect to encounter on winter treks, clothing and gear requirements change drastically, but by simply packing more substantial insulating layers, a winter tent, 4-season sleeping bag, and any additional equipment required for safety (ice ax, snowshoes, crampons, avalanche beacon, snow shovel, winter gloves and hat), the following list can be used when prepping for winter treks in most portions of the globe.
Clothing
Tops
Baselayers and Ts
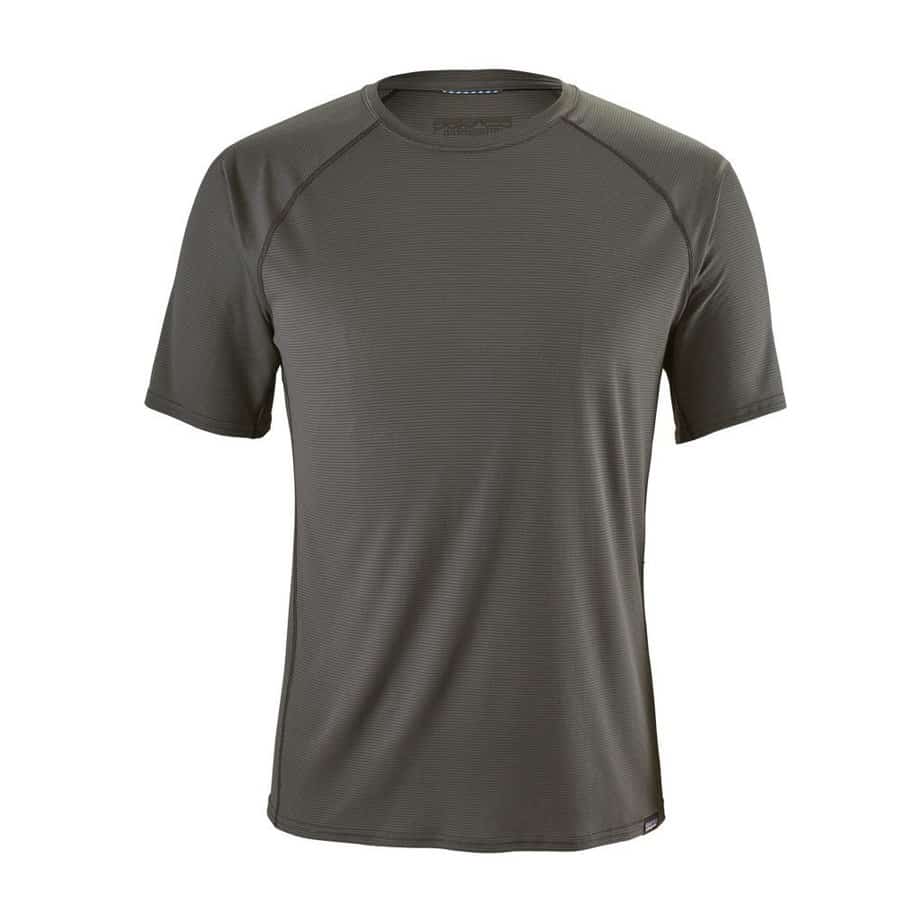
- Patagonia Lightweight Capilene T-Shirt (2.3 oz) — Permanent Polygiene odor control and light as a feather (or two, maybe…)
- Icebreaker Oasis Long Sleeve Crew (7.58 oz) — Light and extremely versatile, this top has natural antimicrobial properties so won’t need washing even after several days on the trail.
Midlayer
- Arc’teryx Cerium SL (7.3 oz) — Intended for use as a mid-layer, the Cerium is warm enough to function as a stand-alone outer and has a solid durable water repellent (DWR) finish.
Or…
- Mountain Hardwear Ghost Whisperer (7.4 oz) — A Shield Down insulation and permanent DWR finish make this a better option in humid climates or wet conditions.
Or…
- Marmot Reactor Fleece Jacket (13 oz) — It’s a little heavier than the Ghost Whisperer, sure, but it also comes in at around half the price and offers more in the way of warmth.
Pants
- Columbia Silver Ridge Convertible Pants (12 oz) — Convert into 10” shorts, cheap, UPF 50 rating, durable ripstop nylon materials.
Outer/Shell Layer
- Marmot PreCip Jacket (10oz) — Reliable waterproofing, tough materials, highly breathable, and very affordable.
Or…
- Outdoor Research Helium II Jacket (6.4 oz) — Incredibly light, tiny pack size, fully taped seams, and tough Pertex Shield waterproofing.
- Marmot Precip Pant (9 oz) — Taped seams, highly breathable, and solid waterproofing at just over half a pound in weight.
Underwear
- Smartwool PhD Seamless Boxer Briefs (2.8 oz) — Naturally antimicrobial, seamless, high-wicking, and breathable.
- Smartwool PhD Mountaineer Sock (n/a) — Use merino-nylon-elastane blend for the perfect balance of durability, comfort, and odor control.
Footwear
We all know that carrying a heavy pack can seriously sap our energy. Not so many of us, however, are aware that wearing heavy boots can actually be a far greater contributor to fatigue and energy loss than the loads on our back.
Research has shown that a poor (and ponderous) choice of footwear can rob you of 4-6 times more energy than the weight on your back and that opting for lightweight trail shoes instead of a pair of 3-pound boots can bring an energy saving equivalent of losing 8 to 12 pounds from your backpack.
As such, we’d recommend considering backpacking in a pair of trail shoes if the terrain and conditions are suitable. If not, the following pairs of boots are among the lightest, most comfortable, and reliable we’ve come across:
- Salamon Quest 4D 3 GTX (2 lbs 14 oz) — The Quest has won legions of fans over the years owing to their comfy cushioning, solid waterproofing, breathability, and superbly grippy soles. They aren’t as robust as other models, but in terms of comfort and value for money, they leave most competitors trailing in their wake.
Or…
- Scarpa R-evolution (2lbs 14 oz) — An upgrade in durability and build quality on the Quest, the R-evolution also offer more in the way of dexterity for those likely to be tackling rocky sections of trail or via ferrata.
- Scarpa Zen Pro (1.5 lbs) — Light, durable, supportive, and wonderfully comfortable, the Zen Pro combines the robustness of a boot with the dexterity of an ultralight shoe.
Sleeping Gear and Shelter
Tent
Generally speaking, any two-person tent weighing in at under four pounds merits classification as “lightweight”. Making the jump into “ultralight” or even “featherweight”, however, requires skimming a few ounces off of even that.
As with items of clothing, be sure your tent is going to be fit to the task you set it — that is, protecting you from the elements wherever you happen to be doing your backpacking. Ultralight tent varieties aren’t usually cheap, and it would be a true kick in the proverbials if you got yourself smack bang in the middle of nowhere before discovering all that expense had bought you something that is wonderfully light but none too qualified for the job you need it to do.
Our current favorites on the ultralight market are the following little feather-like beauties:
For Solo Hikers
- Black Diamond Twilight Bivy (10 oz) — Four-season protection at a mere ten ounces? Yes, please!
2-Person
- Big Agnes Fly Creek HV 2 Platinum (1 lb 12 oz) — Easy to set up, fantastically light, and relatively spacious. Ideal for long-distance duos.
 3-person
- Big Agnes Fly Creek HV UL 3 (2 lb 15 oz) — Ideal for backpacking couples who prefer a little more space or trios who don’t mind things being a little on the “cozy” side at nighttime. Offers solid 3-season weather resistance at less than a pound per person.
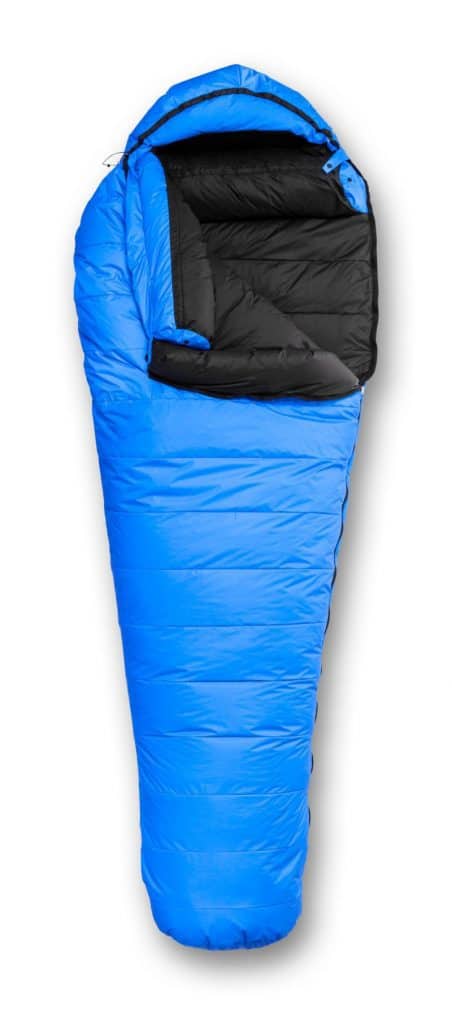
 Sleeping Bag
Summer
- Sea to Summit Spark SpI (12.3 oz) — Using 850+ fill of hydrophobic (water-resistant) down, a reasonably tough, 10D nylon shell with an effective DWR finish, and with a lower limit rating of 46F, this bag is the ideal pick for diehard gram-counter.
Bridge Seasons
- Feathered Friends Swallow 20 YF (1 lb 12.7 oz) — Made with 100% nylon Pertex Quantum shell, 900+ fill power down and rated to 20F, this superbly cozy sleeping bag is the perfect ultralight pick for outings at any time of year barring the dead of winter.
Winter
- Feathered Friends Snowbunting Ex 0 (2lbs 13 oz) — If Chuck Norris was a sleeping bag, he’d be the FF Snowbunting Ex 0. This bag packs a huge 25.3 ounces of ultra-premium 900-fill down, uses a 40D shell, and is rated down to zero degrees, making it one of the toughest and toastiest bags out there for winter or high-altitude backpackers.
Sleeping Mat
- Thermarest NeoAir (12 oz) — There are lighter models out there than the NeoAir, but none that are quite so comfortable and able to withstand the rough treatment your mat’s sure to encounter over a week or two on the trail.
First Aid Kit
As mentioned above, pre-made first aid kits can easily be trimmed down so as to include only those items that you know how to use or are at all likely to come in handy on your trip.
There’s always a large element of the unknown when it comes to hiking injuries — we’ve seen eyes poked by branches, ticks embedded in buttocks, snow blindness, stress fractures, heatstroke, and many other injuries and ailments over the years — so choosing what to bring can be a tricky business.
To play things safe, we’d recommend bringing a selection of the basics, adding extra of any more frequently used items (like blister pads or adhesive bandages) according to the duration of your trip.
The following list includes a basic, bare-minimum selection of first aid items for a five-day backpacking trip.
- Aspirin (x15)
- Ibuprofen (x15)
- Antacids
- Antidiarrheal tablets
- Medical adhesive tape
- Blister treatment
- Oval eye pads (3 sets of 2)
- Assorted adhesive bandages (5 of each)
- Butterfly bandages (x5)
- Triangular cravat bandage
- Cleansing pads with topical anesthetic (x5)
- Rolled Gauze
- Safety pins
- Prescription medication
- Antihistamine
- Antibacterial ointment
- Insect sting relief treatment
- Oral rehydration salts (3 or 4)
- Hemostatic Gauze
- multi-tool with knife, scissors, and tweezers
Cooking
While many serious gram-counters will opt to forego cooked meals to save a pound or so in cooking gear, for those of you who prefer your meals hot or can’t live without that morning coffee then the following cooking implements will let you have them without breaking your back in the process.
Or…
Other Essentials
Headlamp
- Petzl e+Lite (0.9 oz) — 50 lumens, easy on the batteries, and fully waterproof, this little lamp weighs in at around a quarter of the average competitor. It won’t light the trail 100 yards ahead of you, but for simple orientation and campsite tasks, it does the job just fine.
Grub
Hiking with a heavy pack, you can burn a serious amount of calories per hour, often in excess of 1000. Replenishing all these calories and keeping yourself energized for the next section of trail requires choosing a “menu” of supplies that provide you with adequate amounts of the big three — carbs, proteins, fats.
At the same time, these foodstuffs need to be light enough not to require the burning of too many extra calories just to carry, by which point things will have already become distinctly counterproductive.
So, just how are we to go about it?
Although the best trail foods for your backpacking adventures will depend largely on your own tastes, generally speaking, the ideal choices tend to be calorie-dense items like trail mix, dried fruit, nuts, peanut butter, grainy bread, and granola bars.
For proteins, good ol’ beef jerky is a meat-hungry backpacker’s dream, packing somewhere in the region of 30-40g of protein per 100g and able to last the duration of any trip, no matter how Odyssean.
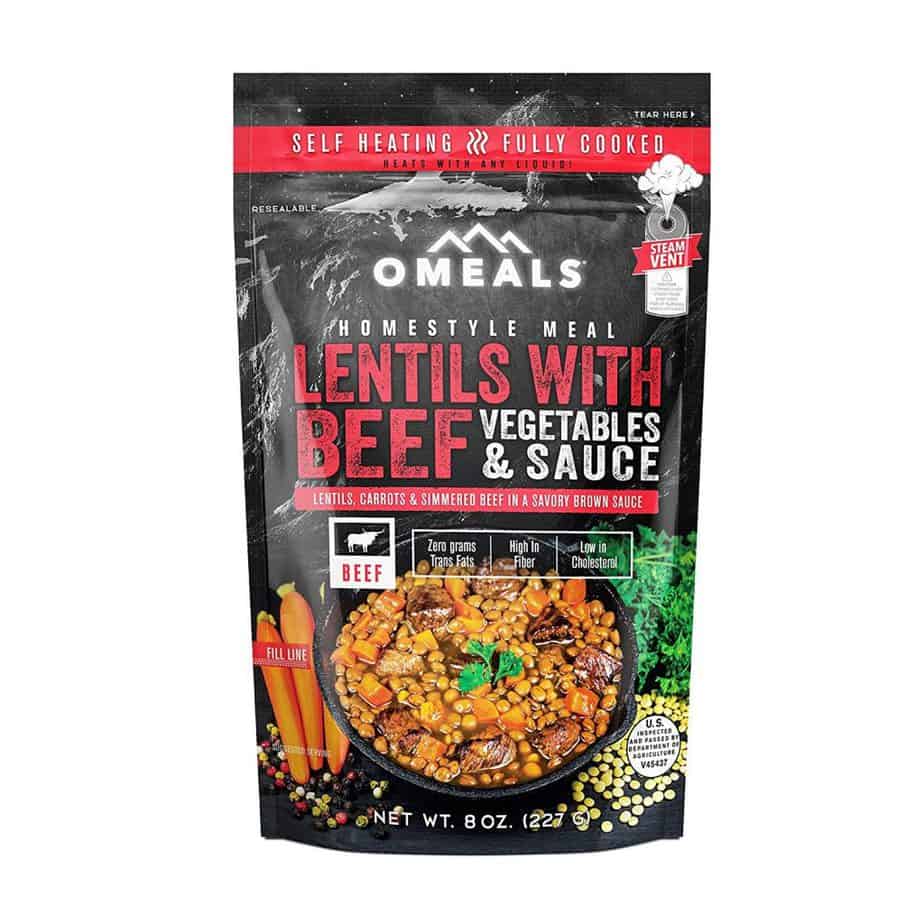
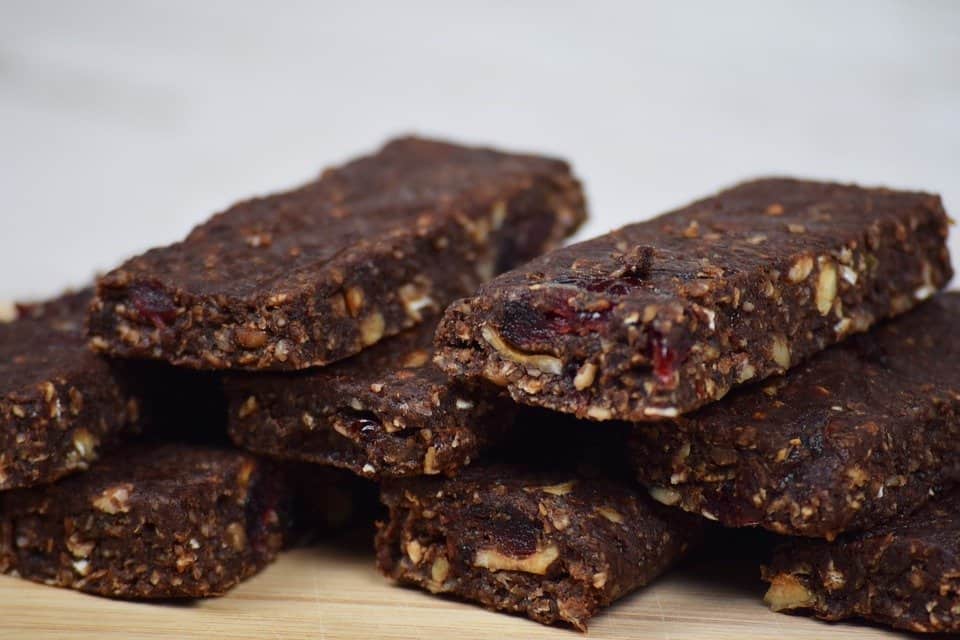
For meal times, freeze-dried meals, powdered eggs, or instant rice all fill a hole, so to speak, but to save on carrying a stove and other cooking gear you could even opt for high-calorie meal bars or self-heating O-Meals.
One of the most common mistakes we see among novice trekkers is carrying canned food. While canned foods are sure to be less perishable than many other forms of trail fodder, they deal something of a double blow weight-wise: first, the added weight of the can pre-consumption; secondly, that same weight post-consumption, when you’re left with an entirely useless and bulky piece of dead weight that’s also difficult to dispose of.
Our advice? Leave the cans at home, and if there’s some canned product you’re especially keen on, pop it out of the can pre-trek and seal it in a zip-lock bag.
Meals
- Freeze-dried meals
- High-calorie meal bars
- O-Meals
- Powdered eggs
- Instant Rice
- Beef Jerky
- Bresaola
- Dense rye or fruit bread
Snacks
- Nuts
- Trail mix
- Seaweed
- High-calorie energy bars
- Peanut butter
- Crackers
Backpack
Most backpacks these days aim to be as light as possible and it’s something of a rarity to find non-alpine models weighing more than four pounds.
That said, often ultralight backpacking packs compromise on a few features in an effort to keep the weight down, most notably compartmentalization, padding, and high-denier, tough fabrics. As with almost all backpacking gear items, finding a balance between weight and performance is key.
How big a pack do I need?
This will depend on how far you have to go between resupply points, how well you pack your backpack (see our guide on how to pack a backpack here), and the conditions you’re hiking in — winter conditions will usually require a lot more pack space than at other times. The following, however, gives you a rough idea of the pack sizes needed for varying trip durations:
- 1-2 nights: 20-40 liter
- 2-3 nights: 40-60 liters
- 3-5 nights: 60-80 liters
- 5+ nights: 80-100 liters
Read here all about the Best Ultralight Backpacks!
Three of our favorite packs out there for lightweight backpacking are:
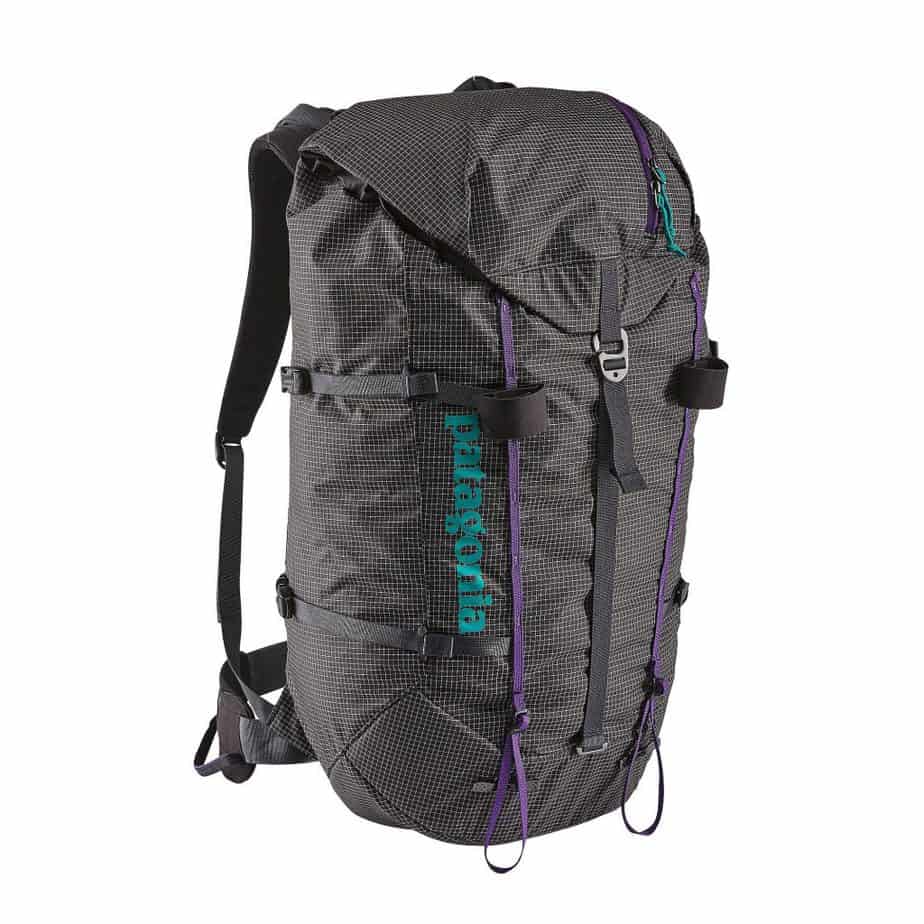
- Patagonia Ascensionist 40L (2 lb) — very light, comfortable, and made with super-tough tear and abrasion-resistant ripstop Cordura nylon/polyester.
- Osprey Levity 60 (1 lb 14 oz) — 30D Cordura ripstop shell, Exoform hip belt, and shoulder straps, oodles of space in a huge central compartment.
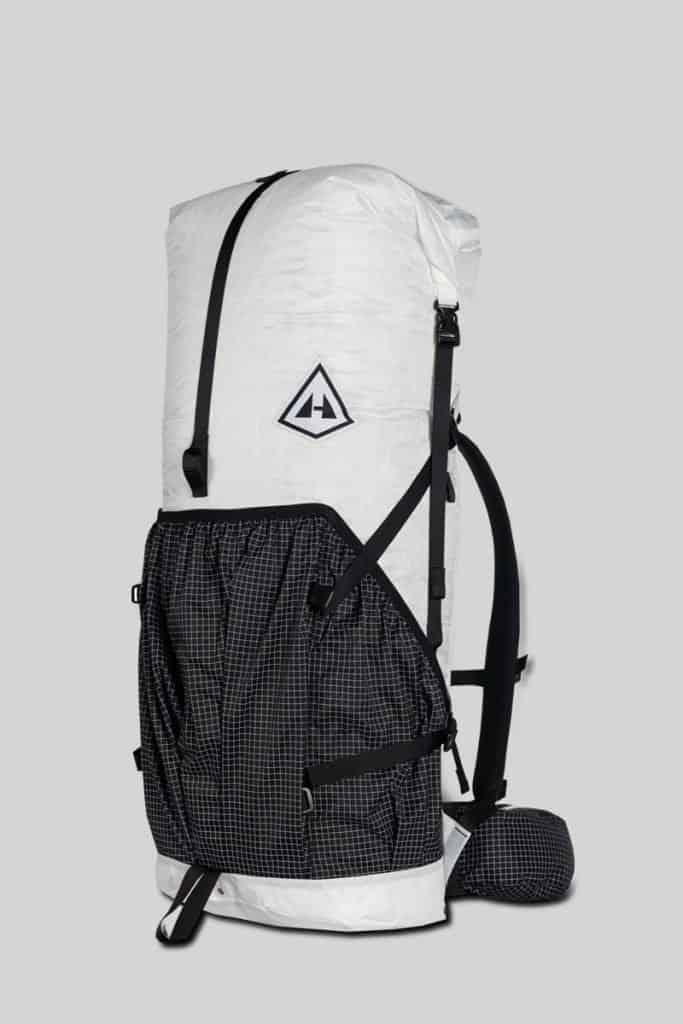
- Hyperlite 3400 Southwest (2.16 lbs) — 70 liters of storage, 50D, and 100D ripstop fabrics, and solid weatherproofing. A great choice for longer trips with fewer resupply points.
The Unnecessaries
Deciding what is and what isn’t unnecessary for your backpacking trip will ultimately require an executive decision on your part and depend on when and where you’re doing your backpacking.
The name of the game, really, is to keep things as light as possible, carrying no weight that isn’t contributing to your comfort or well-being and couldn’t just as well be left at home. However, over the years we’ve seen countless hikers struggling with huge loads — a la Reese Witherspoon in Wild — comprising several pounds of worthless or useless gear.
To do your legs, your back, and pretty much every other part of you a big favor, here are some items you might want to think about bouncing from your backpack (and a few reasons why you’d be better doing so):
- Trail stool: use rocks, tree stumps, your backpack, or simply sit on the floor.
- Milk: if it doesn’t go off by the time you use it, there’s a fair chance it will do after it has spilled on your gear, thus leaving you with a gnarly stench to accompany you every step of the way until you return to civilization. Use dried milk powder instead — it’s lighter, doesn’t go off, and tastes none too bad.
- Musical instruments: no comment.
- iPad/Tablet (plus chargers): …(idem).
- Firewood: even if hiking the desert, you’re sure to find an adequate supply of deadwood from deceased brush and scrub. If not, using your stove is a more weight-efficient option.
- Massive multi-tools: one of the strangest inventions in the history of mankind. If you’re at home, you use your standard toolkit; if you’re on the trail then you’re unlikely to need more than a simple knife, scissors, and tweezers. A simple tool that provides those three will, most likely, save you at least half a pound.
- Snakebite kit: a study published in the Annals of Emergency Medicine has shown that even leading commercial suction devices don’t work, removing less than 2 percent of fake snake venom from the affected tissue in test participants. Essentially, by the time you get the kit out and start suction or apply a tourniquet, it’s already too late — the venom will already be circulating. Relatively speaking, snake bites are very rare, and in most cases are not fatal — even those from the widely feared rattlesnake. If you are unlucky enough to be bitten by a snake, alert the emergency services immediately and do everything you can to stay calm until they arrive — sitting or lying down and taking slow, deep breaths. If you’d rather avoid being bitten altogether, wear higher boots and either gaiters or thicker trousers, both of which can thwart a bite or limit the quantity of venom discharged.
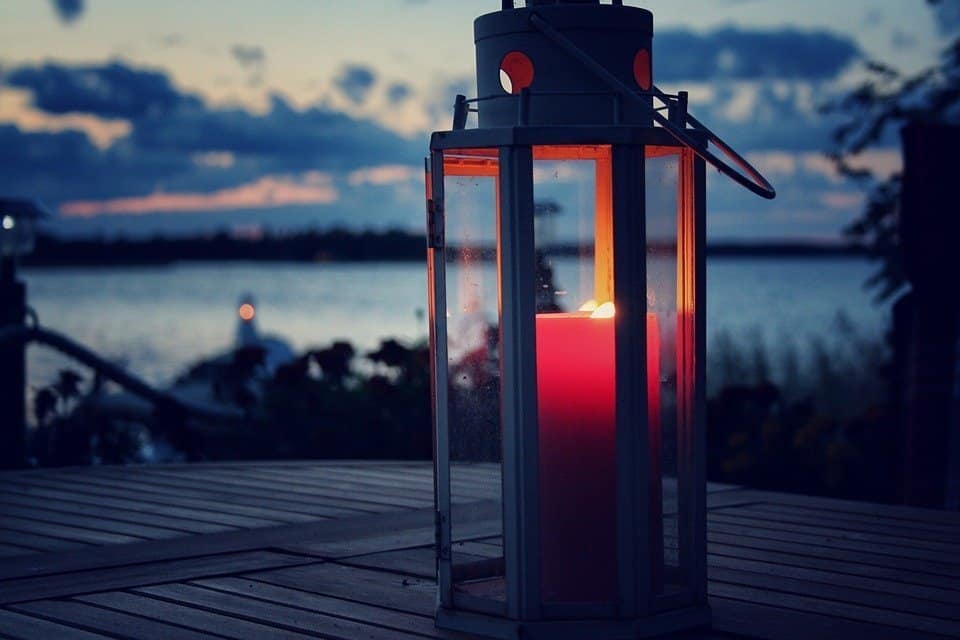
- Candle lantern: fine for the romantically minded, crap for the gram-counter and fan of making every gram count. Your headlamp will do the job just nicely.
- Camp shoes: going barefoot or sticking with your trail shoes/boots is unlikely to cause you too much discomfort.
- Deodorant: now’s as good a time as any to sample what your natural “musk” smells like.
- Pillows: they might only weigh an ounce or two, but these take up a lot of pack space and can be substituted with a jacket or a stuff bag filled with a shirt.
- Pack covers: these most probably came into fashion in the days of canvas backpacks. These days, most packs are waterproof or at least highly water resistant, thus negating the need for this light but essentially useless piece of kit.
- DSLR cameras (and tripod): unless you’re a professional photographer or in that sort of league, then a compact “trail camera” is a better bet, saving you a good few ounces and maybe a whack of $ too if there happen to be any mishaps. Tripods can be substituted by rocks, your partner’s shoulder or head, tree stumps, or fence posts.
- Huge flashlights: as with camping lanterns, your headlamp is likely to be both lighter and require less in the way of “fuel” (i.e. batteries).
- Umbrellas (yeah, seriously): if someone doesn’t take this off you at the trailhead and smack you over the head with it, then somewhere on your hike you’ll come to realize that you’d be much better served by your waterproof jacket and pants.
- Tupperware: it may be light, but not as light as simple, zip-lock polythene bags.
- Detergent: homo sapiens made do for a few hundred thousand years before detergent entered the fold — spending a few days without it is unlikely to cause you too much harm, particularly if you choose garments that are naturally antimicrobial such as merino wool.

The All-Outdoors Guide team is comprised of enthusiastic experts that enjoy helping others that aspire to be better at outdoor fun. Part of that is making sure you have the right gear and information when it’s time to go out and have fun. Some of our team have accomplished amazing feats like climbing 6000 feet to the top of mountains, others have explored every dirt trail they could find and we even have some people that have backpacked solo on various continents. No matter what our readers want to learn and do, our team is here to help them accomplish those goals.




 3-person
 Sleeping Bag